Chapter Overview
Clinical Protocols
This chapter translates plasma science into actionable clinical workflows. Every protocol in the Fusion Plasma system has been developed through iterative clinical testing, combining the right tip, energy level, treatment sequence, and aftercare to achieve predictable outcomes for each indication. Protocols are not recipes to be followed blindly — they are frameworks that practitioners adapt based on individual patient anatomy, skin condition, and goals.
The Protocol Framework
Every Fusion Plasma protocol is built on five pillars: (1) Diagnosis & Patient Selection — confirming the indication and ruling out contraindications; (2) Tip Selection — choosing the appropriate cold or warm plasma tip for the target tissue depth and condition; (3) Treatment Sequence — ordering the steps (sterilization → primary treatment → secondary treatment → aftercare); (4) Energy & Timing — setting the power level and contact time based on skin type and condition severity; (5) Aftercare & Follow-Up — home care instructions and next-session scheduling. Understanding this framework allows practitioners to modify protocols intelligently rather than memorize them rigidly.
Five pillars: Diagnosis → Tip Selection → Sequence → Energy/Timing → Aftercare. Master the framework, adapt any protocol.
Active Acne Protocol
The active acne protocol is unique because it combines direct lesion targeting with full-face sterilization. Step 1: Cleanse the face with a non-irritating cleanser. Step 2: Using the Ozon Plasma tip (70–80°C), apply plasma directly to each active lesion for 2–3 seconds — the ozone-rich plasma oxidizes Cutibacterium acnes and reduces inflammation. Step 3: Switch to the Hyper Plasma tip (30–35°C) and treat the entire face for 3 minutes — this sterilizes surrounding follicles and prevents new lesion formation. Step 4: Apply Fusion Plasma Aftercare Cream. Protocol: 1–4 sessions, every 4–7 days. No anesthetic required. Note: Active acne and acne scars are different protocols — never treat scars while active lesions are present.
Ozon plasma targets lesions directly; hyper plasma sterilizes the full face to prevent new breakouts.
Scar Revision Protocol
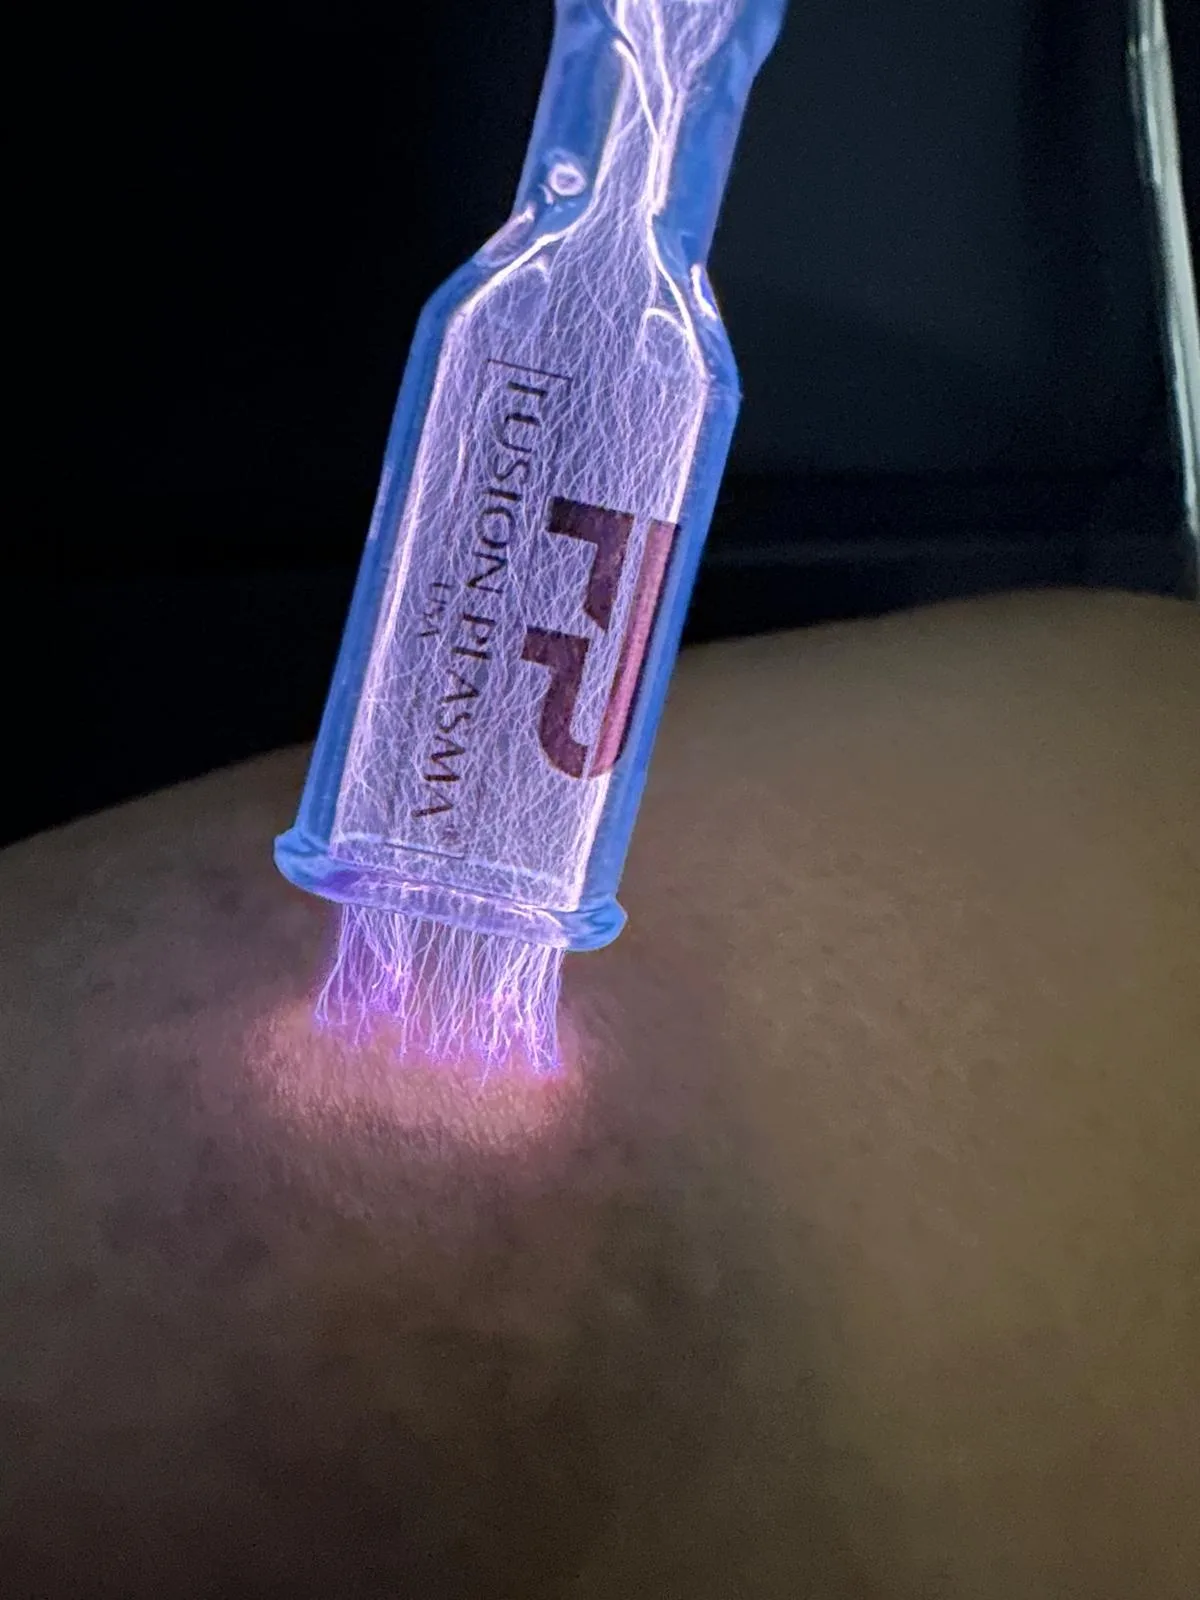
Scar revision requires dermal remodeling, so warm plasma is the primary modality. Step 1: Cleanse and apply topical anesthetic cream (30–40 minutes under occlusion). Step 2: Remove anesthetic with alcohol-free wipes, dry skin thoroughly. Step 3: Apply Derma Plasma roller (80–140°C) across the scarred area to create broad thermal stimulation. Step 4: For deep atrophic scars, use the Warm Plasma Needle tip (120–400°C) to create targeted micro-coagulation points within the scar base. Step 5: Finish with 2–3 minutes of Hyper Plasma (30–35°C) for sterilization and healing acceleration. Step 6: Apply Aftercare Cream. Protocol: 1–3 sessions, monthly. Downtime: 3–7 days of erythema and micro-crusting. Contraindications: keloid tendency, isotretinoin use within 6 months.
Derma plasma for broad stimulation + needle tip for deep scars + hyper plasma for healing acceleration.
Anti-Aging & Skin Tightening Protocol
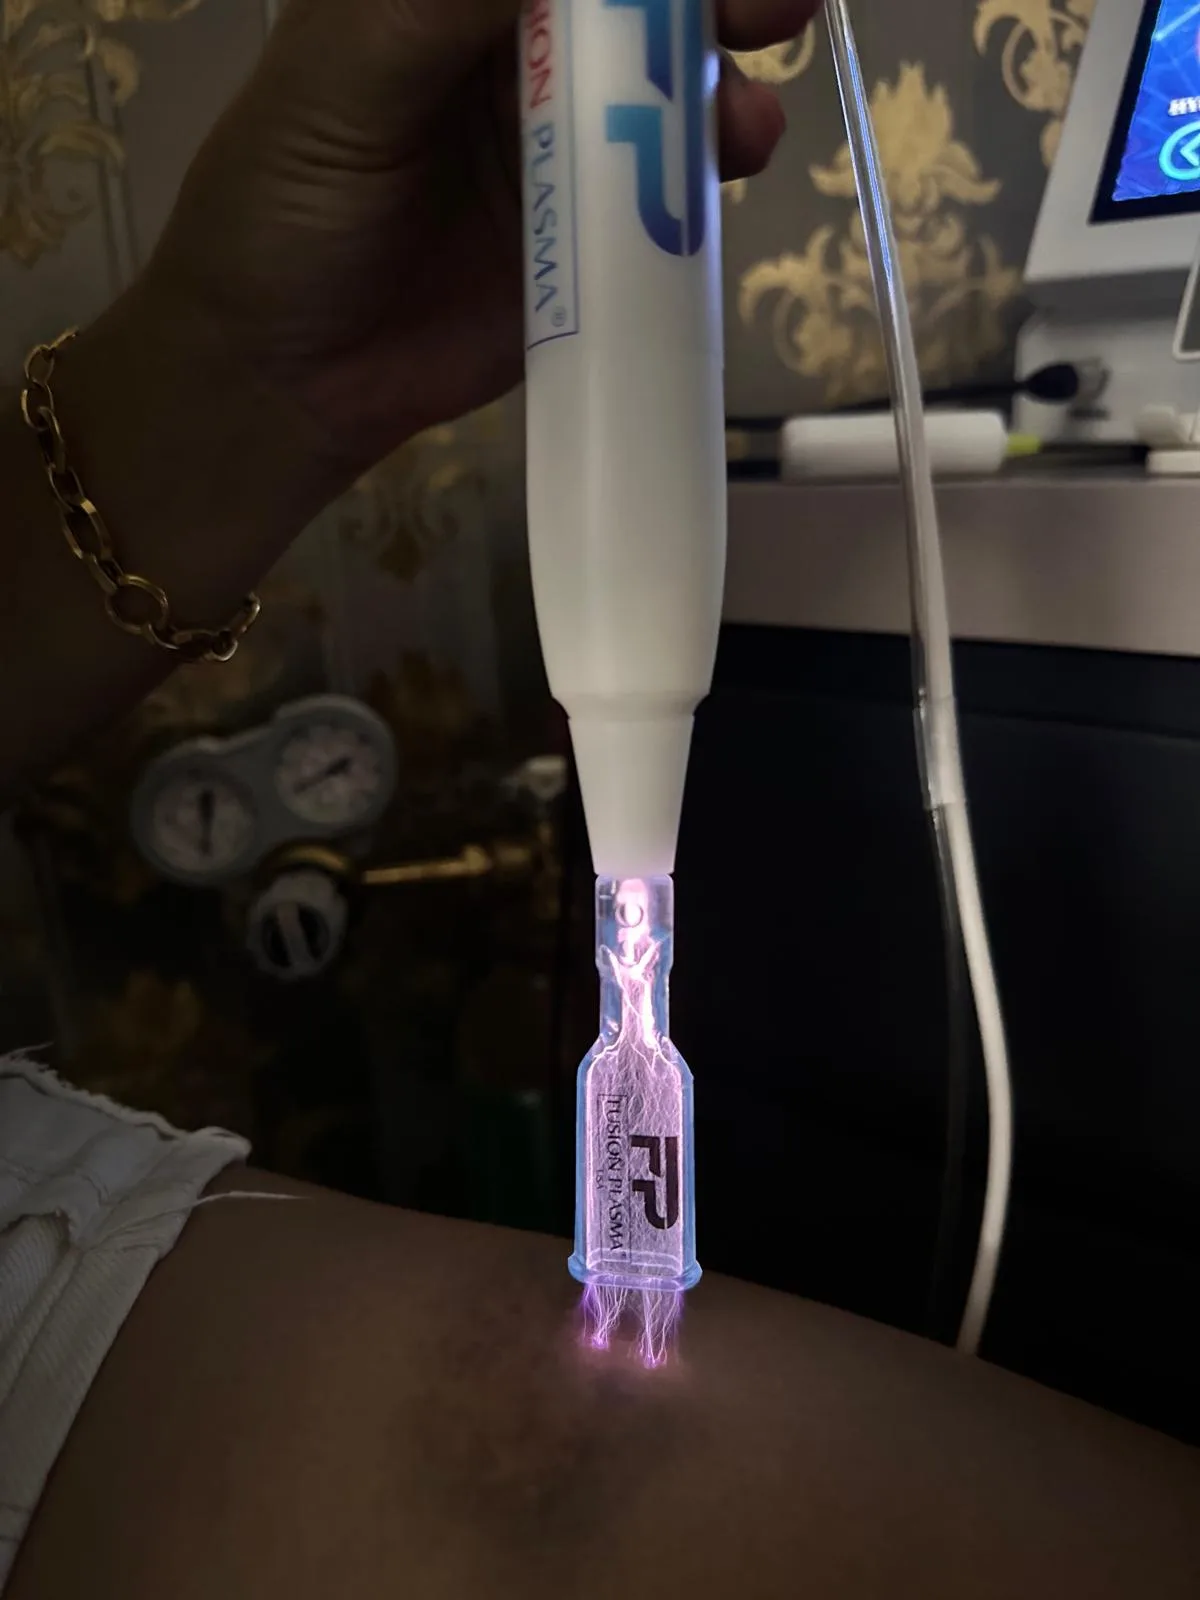
The anti-aging protocol combines the regenerative power of both plasma modalities. Step 1: Cleanse and apply anesthetic cream (30–40 minutes). Step 2: Apply Derma Plasma roller across the full face, neck, or décolletage — this creates diffuse collagen stimulation. Step 3: Target deep wrinkles (nasolabial folds, forehead lines, periorbital crow's feet) with the Warm Plasma Needle tip for point-source deep dermal effect. Step 4: Finish with Hyper Plasma (2–3 minutes) for sterilization and enhanced product penetration. Step 5: Apply Aftercare Cream. Protocol: 1–3 sessions, monthly. Results appear over 4–8 weeks as new collagen matures. For eyelid tightening, expect 2–3 days of swelling — this is normal and resolves spontaneously.
Full-face derma plasma + targeted needle tips for deep lines + hyper plasma finish — the complete anti-aging stack.
Hair Loss Protocol
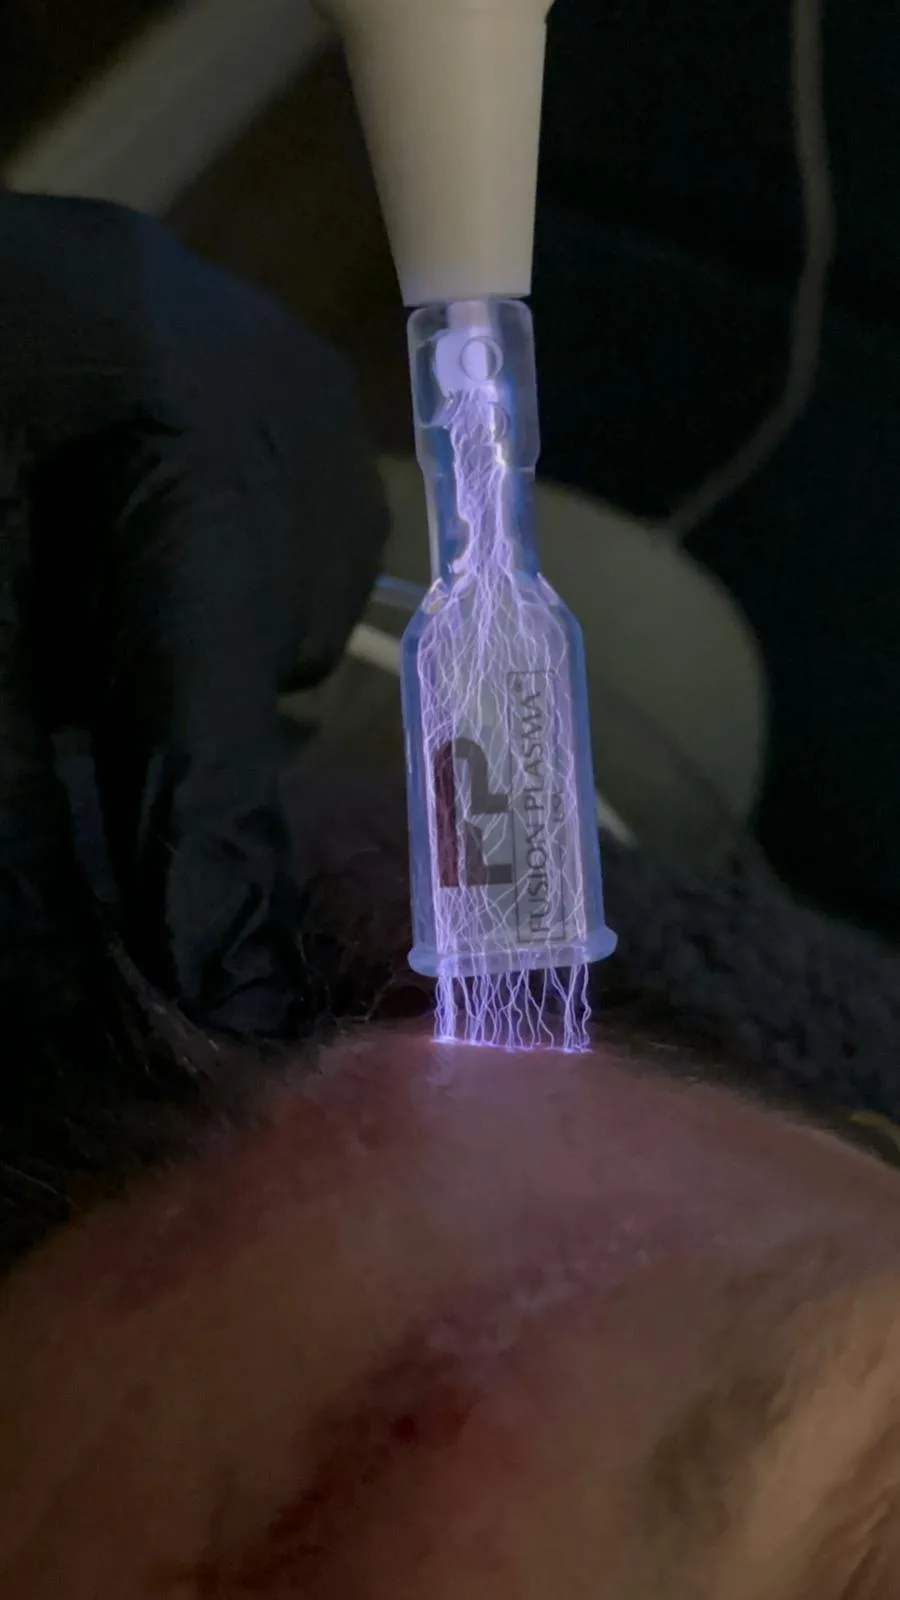
The hair loss protocol is unique because it combines plasma penetration enhancement with plasma-activated serum delivery. Step 1: Apply Derma Plasma across the entire scalp — this creates micro-channels and stimulates circulation. Step 2: Apply Hyper Plasma for 3 minutes — this sterilizes the scalp and enhances permeability. Step 3: Load Plasma Activated Serum into the injector applicator. Step 4: Place 2–3 drops of serum on the scalp and apply Scalp Plasma tip (40–45°C) for ~10 seconds per drop — this activates the serum molecules and drives them through the micro-channels into the follicle zone. Step 5: Repeat until the full scalp is covered. Protocol: 8 sessions fixed, weekly. Home care: daily roll-on serum application is mandatory — without it, results will not meet expectations. Visible improvement typically appears after 2–3 months as new hair cycles begin.
Plasma creates micro-channels; plasma-activated serum penetrates to the follicle — the dual mechanism of hair regrowth.
Stretch Mark Protocol
Stretch marks require the most sessions because they involve remodeling of torn dermal collagen and elastin. Step 1: Cleanse the area (abdomen, thighs, hips, arms, or breasts). Step 2: Apply topical anesthetic for 30 minutes. Step 3: Apply Derma Plasma roller across the entire affected area (2–3 minutes per zone) to stimulate circulation and collagen. Step 4: Trace each stretch mark line with the Warm Plasma Needle tip — the thermal energy penetrates the dermis and triggers repair at the tear site. Step 5: Finish with Hyper Plasma (2–3 minutes) for sterilization. Step 6: Apply Aftercare Cream. Protocol: 3–8 sessions, monthly. This is the longest protocol in the Fusion Plasma system — patients must have realistic expectations. New (red/purple) stretch marks respond faster than old (white) ones. Not suitable during pregnancy or breastfeeding.
The most sessions required — torn dermal fibers need time to rebuild. Expect 3–8 monthly sessions for meaningful improvement.
Protocol Summary Table
The following table summarizes all Fusion Plasma clinical protocols at a glance, allowing practitioners to quickly reference session counts, intervals, durations, anesthetic requirements, and primary tips used.
- Active Acne — 1–4 sessions · Every 4–7 days · 5–15 min · No anesthetic · Ozon + Hyper Plasma
- Acne / Surgical Scars — 1–3 sessions · Monthly · 10–20 min · Anesthetic 30–40 min · Derma + Needle + Hyper
- Pigment / Spots — 1–3 sessions · Monthly · 5–15 min · Anesthetic 30–40 min · Derma + Needle + Hyper
- Wrinkles / Sagging — 1–3 sessions · Monthly · 15–20 min · Anesthetic 30–40 min · Derma + Needle + Hyper
- Stretch Marks — 3–8 sessions · Monthly · 15–25 min · Anesthetic 30 min · Derma + Needle + Hyper
- Hair Loss — 8 sessions · Weekly · 15–20 min · No anesthetic · Derma + Hyper + Scalp + Serum
- Cellulite — 4–8 sessions · Weekly · 20–30 min · No anesthetic · Derma + Scalp + Plasmedica Oil
- Nail Fungus — 4–8 sessions · Every 7 days · 5–20 min · No anesthetic · Plasma Jet + Warm + Hyper
- FusioTherapy — 1–2 sessions · Monthly · 15–25 min · No anesthetic · Scalp + Plasmedica Oil
- Microblading — 1 session · — · 30–60 min · Anesthetic 30–40 min · Hyper Plasma
Chapter Summary
Clinical protocols are where plasma science becomes patient results. The Fusion Plasma protocol library covers every major aesthetic indication with validated step-by-step workflows, safety parameters, and aftercare guidelines. Successful outcomes depend not only on correct protocol execution but also on proper patient selection, expectation management, and follow-up care. This chapter provides the foundation; hands-on certification training transforms knowledge into clinical mastery.